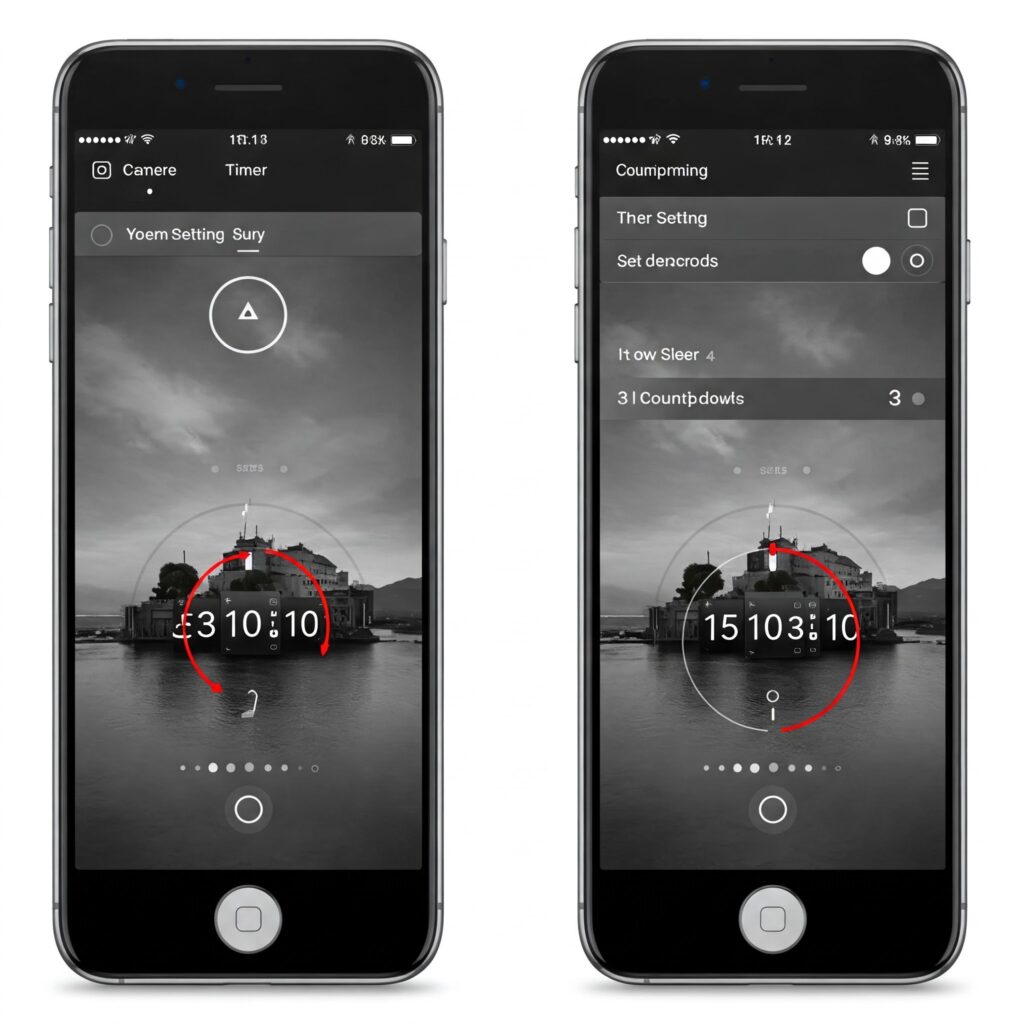
The iPhone’s built-in camera is a powerful tool for photography enthusiasts and casual users alike. Among its many features, the timer function stands out as a versatile option for capturing hands-free shots, reducing camera shake, or including yourself in group photos. This guide will walk you through everything you need to know about How to set timer on iPhone camera? setting up and using the timer on your iPhone camera, including creative applications, troubleshooting tips, and comparisons with third-party apps.
1. Understanding the iPhone Camera Timer: The Basics
The timer function allows you to set a delay (3 or 10 seconds) between tapping the shutter button and the camera taking a photo or starting a video. This feature is particularly useful for:
- Group photos where everyone needs time to get into the frame.
- Long-exposure shots to avoid shaking the device.
- Creative self-portraits with controlled compositions.
Key Specifications:
- Delay Options: 3 seconds (quick shots) or 10 seconds (longer setup).
- Compatibility: Available on all iPhones running iOS 8 or later.
- Modes Supported: Photo, Portrait, Video, Live Photos, and more.
2. Step-by-Step Guide: How to Set Timer on iPhone Camera
Follow these simple steps to activate the timer:
- Open the Camera App.
- Navigate to Your Desired Mode (e.g., Photo, Portrait, or Video).
- Tap the Timer Icon (⏱️) in the top menu.
- If you don’t see the icon, swipe up on the viewfinder or tap the arrow (▼) to reveal hidden controls.
- Choose a Delay: Select “3s” or “10s.”
- Frame Your Shot and tap the shutter button.
- Wait for the Countdown: Flashing lights and sounds indicate the remaining time.
Pro Tip: Use a tripod or lean your iPhone against a stable surface for sharper images.
3. Using the Timer with Different Camera Modes
The timer integrates seamlessly with most iPhone camera modes. Here’s how it works:
| Mode | Timer Behavior | Best Use Case |
|---|---|---|
| Photo | Takes a single shot after the countdown. | Group photos, landscapes. |
| Portrait | Activates depth effect post-countdown. | Artistic self-portraits. |
| Video | Starts recording after the delay (iOS 14+). | Hands-free vlogging or presentations. |
| Live Photos | Captures 3 seconds of motion and sound. | Dynamic group shots. |
| Night Mode | Requires stability; pair with a 3s timer for crisp low-light shots. | Astrophotography, cityscapes. |
Note: The timer isn’t available in Slo-Mo or Time-Lapse modes.
4. Troubleshooting Common Timer Issues
Encountering problems? Try these fixes:
| Issue | Solution |
|---|---|
| Timer icon missing | Swipe up or tap the arrow (▼) to reveal hidden controls. |
| Delay not working | Ensure your iOS is updated to the latest version. |
| Camera app crashes | Force-close the app, restart your iPhone, or free up storage space. |
| Blurry timer photos | Use a tripod or stabilize your iPhone on a flat surface. |
| No sound/countdown | Check Silent Mode or enable “Camera Sounds” in Settings > Sounds. |
5. Creative Ways to Use the iPhone Camera Timer
Beyond basic selfies, the timer can elevate your photography:
- Long Exposure Shots: Pair the 10s timer with Night Mode for stunning light trails or waterfalls.
- Burst Mode Magic: Enable “Burst Mode” (hold the shutter) during the countdown to capture motion sequences.
- Double Exposure Effect: Take two timed shots in different locations and blend them in editing apps.
- Pet Photography: Use the 3s timer to avoid startling animals while tapping the shutter.
Pro Idea: Attach your iPhone to a drone or tripod for aerial or panoramic timed shots.
6. Native Timer vs. Third-Party Camera Apps
While the iPhone’s native timer is robust, third-party apps offer advanced features. Here’s a comparison:
| Feature | Native Camera App | Third-Party Apps (e.g., ProCamera, Halide) |
|---|---|---|
| Timer Duration | 3s or 10s | Custom intervals (e.g., 5s, 15s) |
| Burst Mode Support | Yes | Advanced burst controls |
| RAW Capture | Limited to Pro models | Full RAW support |
| Voice Control | No | Yes (e.g., “Capture” voice commands) |
| Price | Free | 3–10 (one-time or subscription) |
Verdict: Stick with the native timer for simplicity, but explore apps like Camera+ 2 or VSCO for granular control.
7. Final Tips for Timer Mastery
- Use Volume Buttons: Press the volume keys to start the timer if your iPhone is mounted.
- Combine with Flash: In low light, enable flash for better-lit timed shots.
- Experiment with Angles: Place your iPhone on the ground or hang it for unique perspectives.
Conclusion
The iPhone camera timer is a small feature with enormous creative potential. Whether you’re capturing a family reunion, experimenting with long exposures, or troubleshooting a missing icon, this guide equips you with the knowledge to master it. By pairing the timer with accessories like tripods and third-party apps, you can unlock professional-level results without upgrading your gear. Now, go out there and shoot!
